Unparalleled Durability & Performance with SPARTACOTE® Resinous Flooring
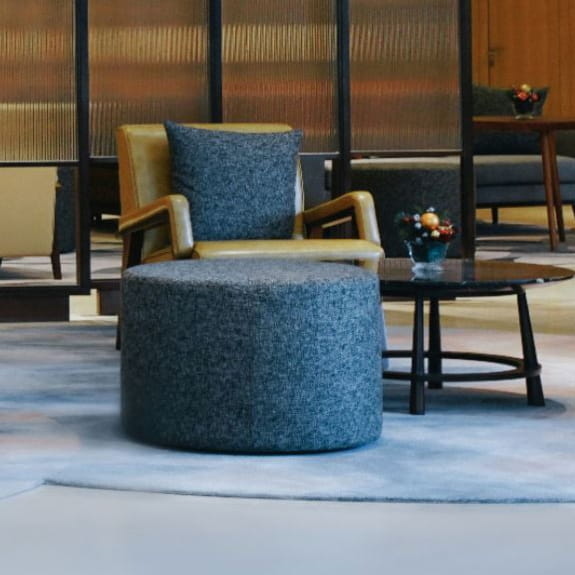
Tailor your spaces with our durable decorative and industrial flooring solutions, which offer a vast array of colors, finishes and textures.
From polyaspartic and epoxy coatings to customizable decorative finishes, our system solutions offer quick application, high durability, and a variety of finish styles, making them extremely versatile and suitable for industrial, commercial, or residential projects.
Product Sub Category
<ClearWarranties
<ClearCountry
<Clear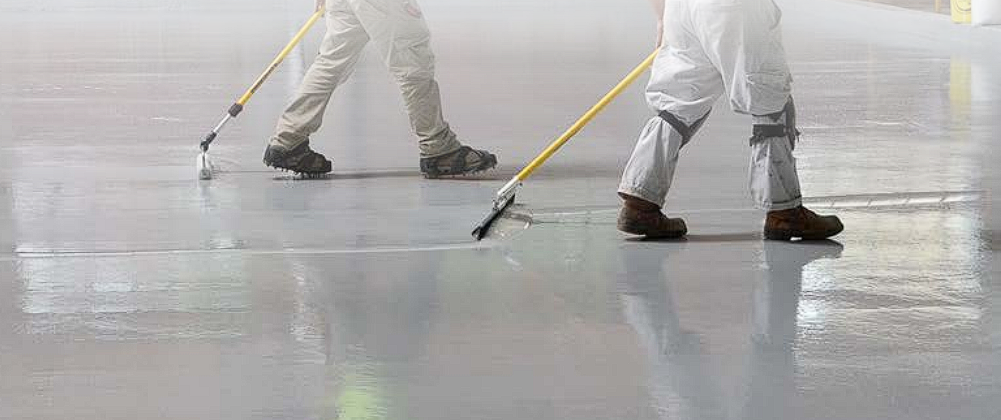
Find the SPARTACOTE system that works best for your application.
We offer multiple pre-designed systems with a history of successful in-field installations. Choose from a full line of polyaspartic, epoxy and urethane coatings.
Bring your flooring vision to life.
Use our digital visualizer tool to mock up your flooring with our SPARTACOTE® finishes. Select a scene or upload your image and transform your space with a click.
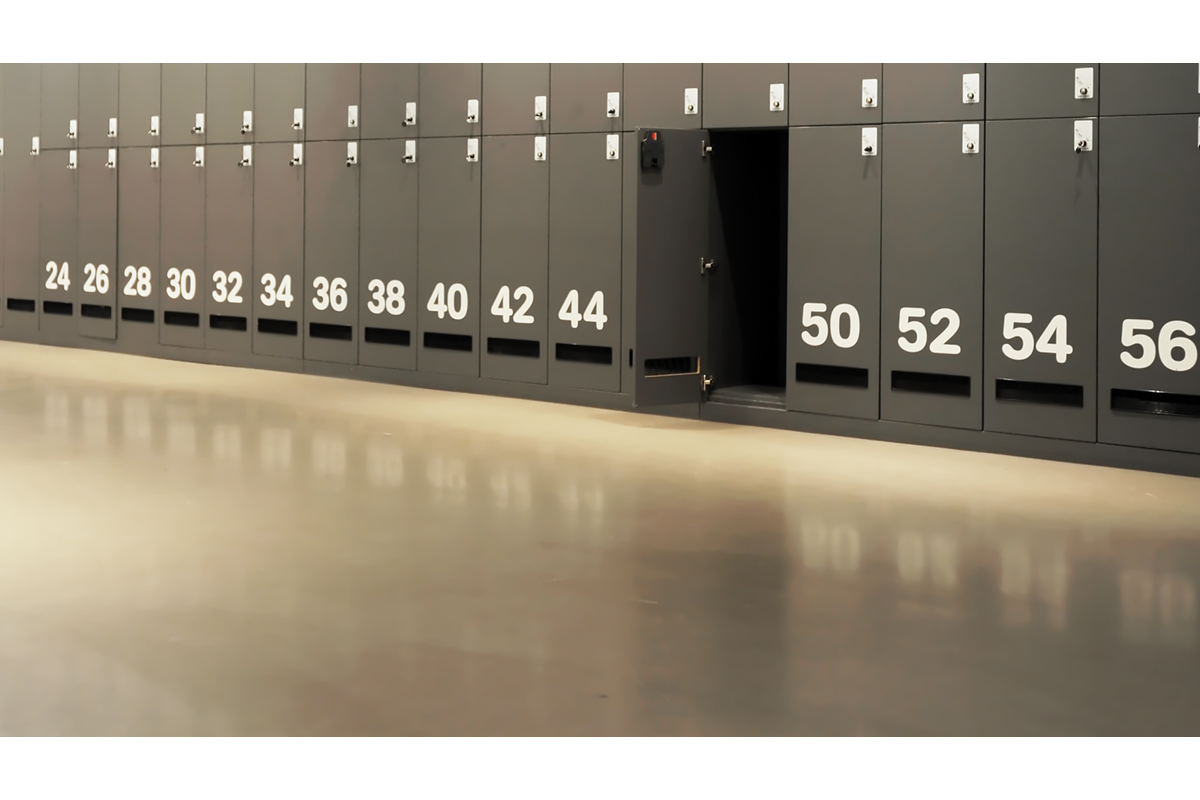
SPARTACOTE System: Seamless, safe, and durable flooring for demanding challenges.
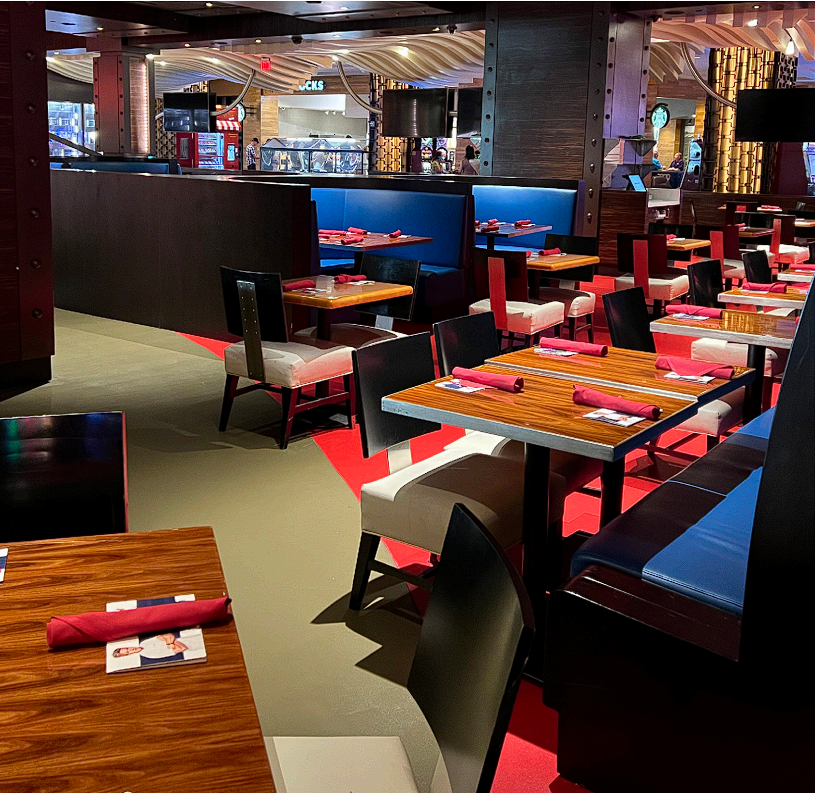
As a full-service restaurant in the popular Planet Hollywood Resort & Casino, Gordon Ramsay Burger required a quick turnaround that would enable them to reopen promptly after renovations were completed. As such, the installation team needed fast-acting products and efficient solutions that would enable them to keep to task and on schedule.